
In previous article we have seen how to declare the data accessible in a custom view in MyModule.
Now that the data from our tables mymodule_tb (and mymodule_tb_2) are available, let's create the list view.
First navigate to "/admin/structure/views/add" and create the view by entering basic information as per the example below.

After "save" you are redirected to "Edit" form where further settings will be set.
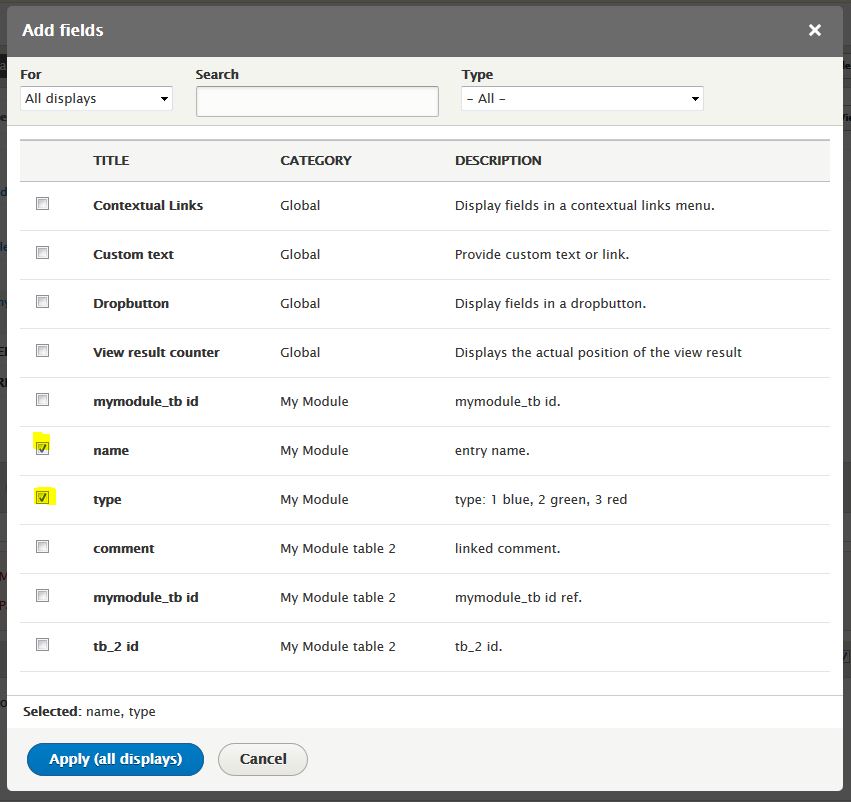
1) Add fields from you source table
![]()
From this form, select the fields to display. We will select 2 here "name" and "type" (refer to the table structure declared in MyModule_views_data())
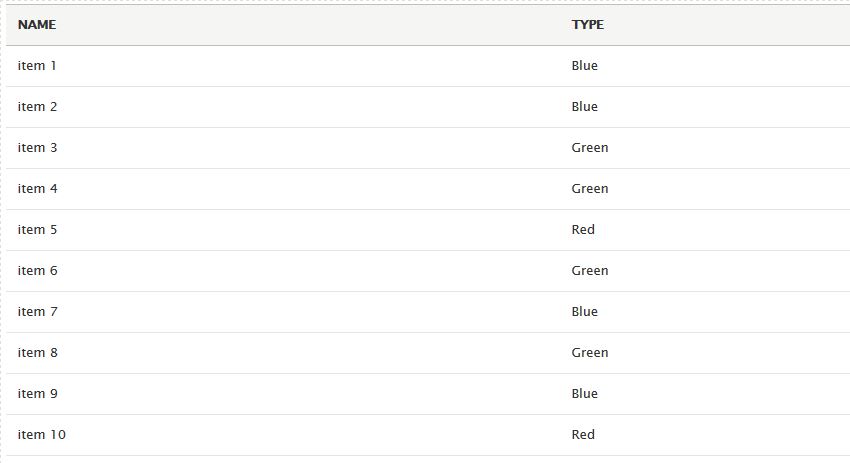
Once added, the default preview is as follow:
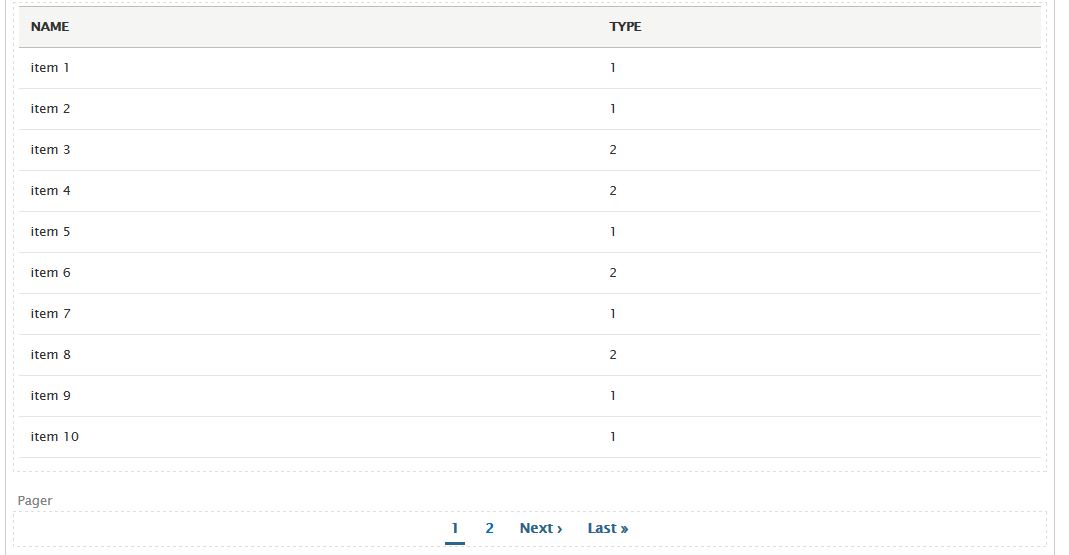
You can see that the "type" field value is made of numbers which should be displayed as color type instead in our example.
2) Rewrite results for "type" field
To display information that is more practical for a user, we will convert the "type" filed values (1,2,30) into colors names.
To do that click on the field to edit it:

In the edition form, go to "REWRITE RESULTS" section and click on "Override the output of this field with custom text":
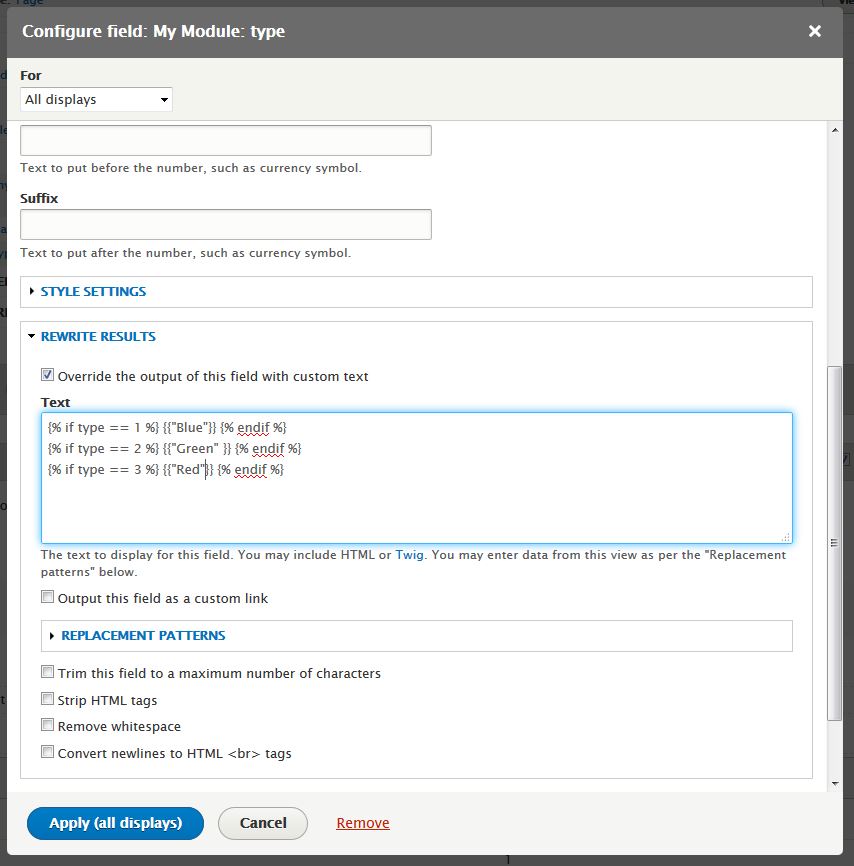
In this Text box, we set rewrite rule based on type value as this : 1 = 'Bleu', 2 = 'Green', 3 = 'Red'.
For this rules we used the Twig script as it is suggested by the form.
After saving this rule, we can see that our list display will now output color names instead of "type" field values:
3) Add custom filter
To add a filter, click on the 'Add' button:
![]()
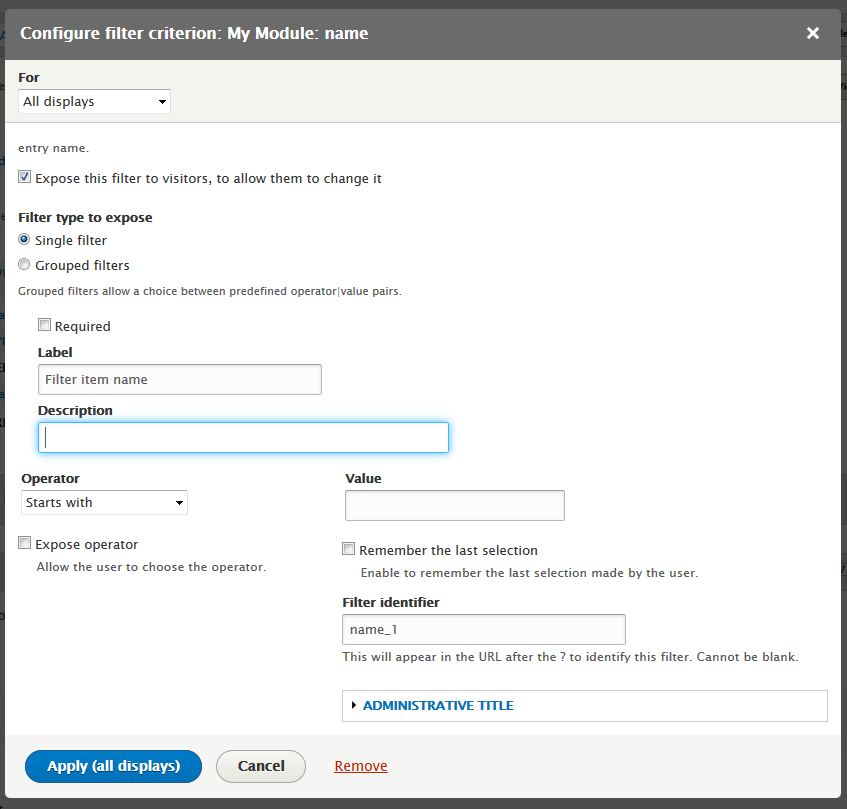
In the form, select the filed 'name' as the filter criteria:

Then select "Expose this filter to visitors" and complete the settings as per example below (we selected condition "starts with" and left the value empty):
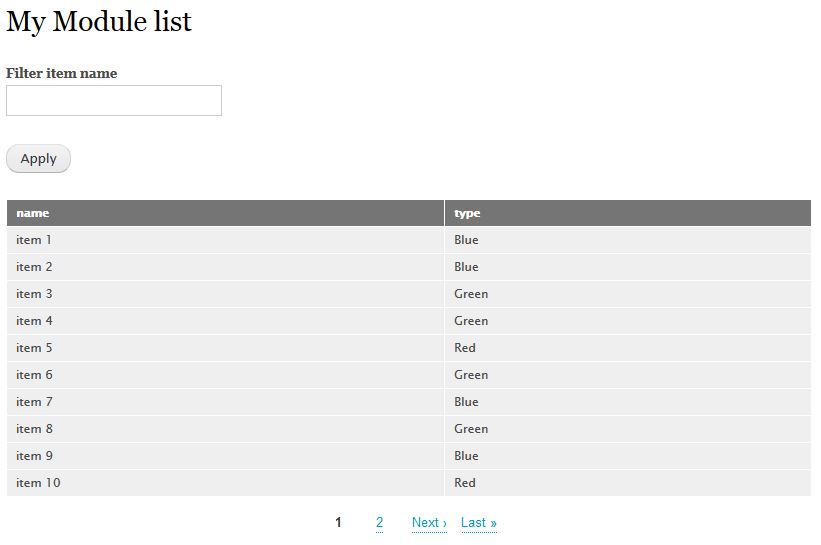
After applying the filter settings, the list view is completed.
You van now navigate to the link set in the view "/my-module-list" and see the result:
We hope this demonstration is helpful to you. You can view as well another demo in our custom module address book part of EK management tools.
If you have comments or want to add techniques to display views of custom data, feel free to do so.
In the next article we will see how to add this view as a configuration in our custom module.
Add new comment