
In previous article, we have built a simple custom view from sales data. In this article we will show how to create a relationship with another table, add access control and a menu link. You can also watch the video with complete built.
Table relationship
The purchases are linked to a supplier ID. This ID is a reference in the Address book table. To create the relationship with address book, click on "Add" under "ADVANCED":

In the tables list, select the "Client" linked to sales:
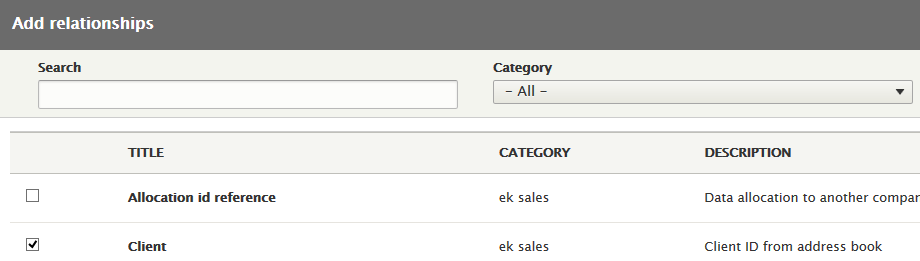
After the table is linked, you can add new fields from Address book. We will need the Address book ID and the Name (of supplier).
You can click on "Add" in fields section:
![]()
In the field list, Select the ID and Name and configure the data columns. We only display the Name and hide the ID:
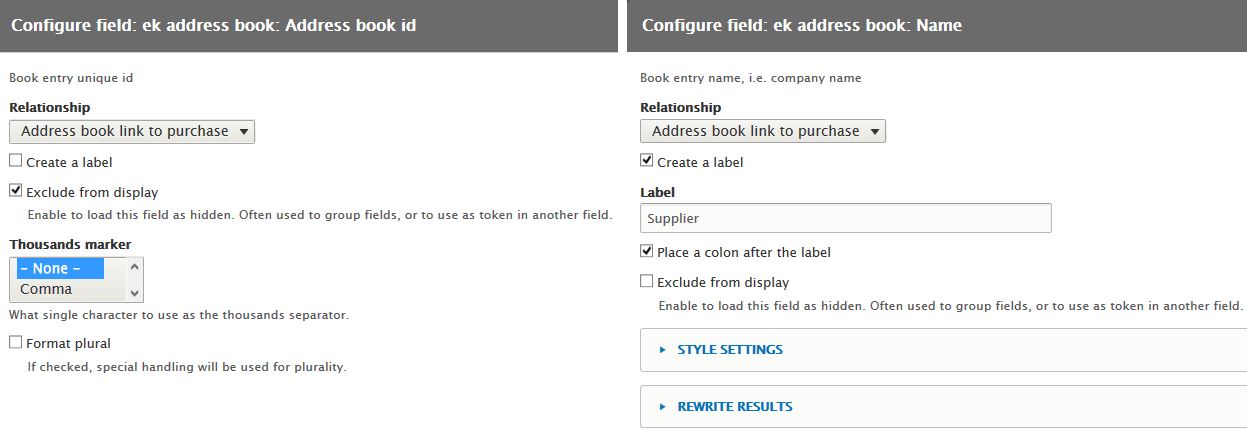
Like for the link to document, we can add a link to the supplier data. Open the "Name" field for editing by clicking on "(Address book link to purchase) ek address book: Name (Supplier) ". In the configuration, under "REWRITE RESULTS", select "/address_book/{{ id_1 }}
We now have a table with supplier name linked to Address book:

Permissions
Access to views can be controlled like any other page in Drupal. you can restrict access by role or permission.
to do that, go to page settings and click "Unrestricted" to edit access:
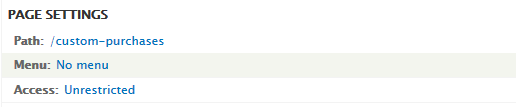
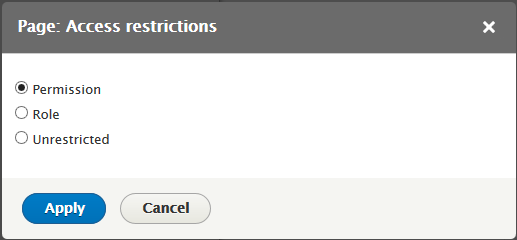
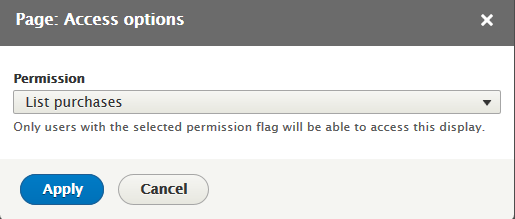
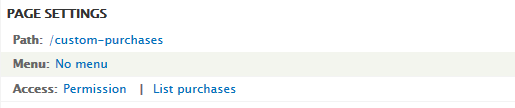
In the form, select the type of access control you want, role or permission. In our case with select a "Permission" which is attached to the sales module to list purchases.
Menu
The last step is to create a menu for easy navigation to the data view. In the page settings section, click "No menu" to open the menu form:
We create a normal menu item to be listed under parent sales menu:
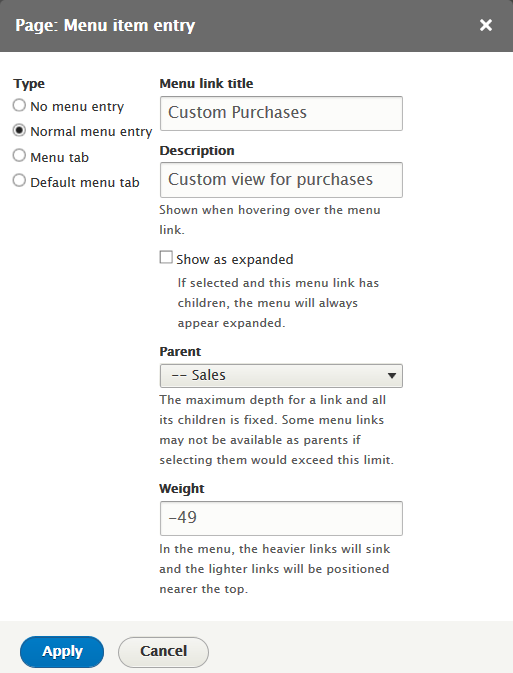
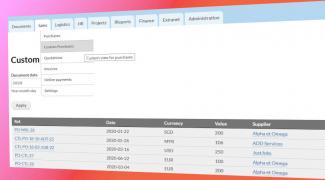
The custom view is now ready and can be saved. Users with correct access permission will be able to open, filter and read data on the new page.
You can watch our video for building this custom view or test the full example result with our online demo
Add new comment